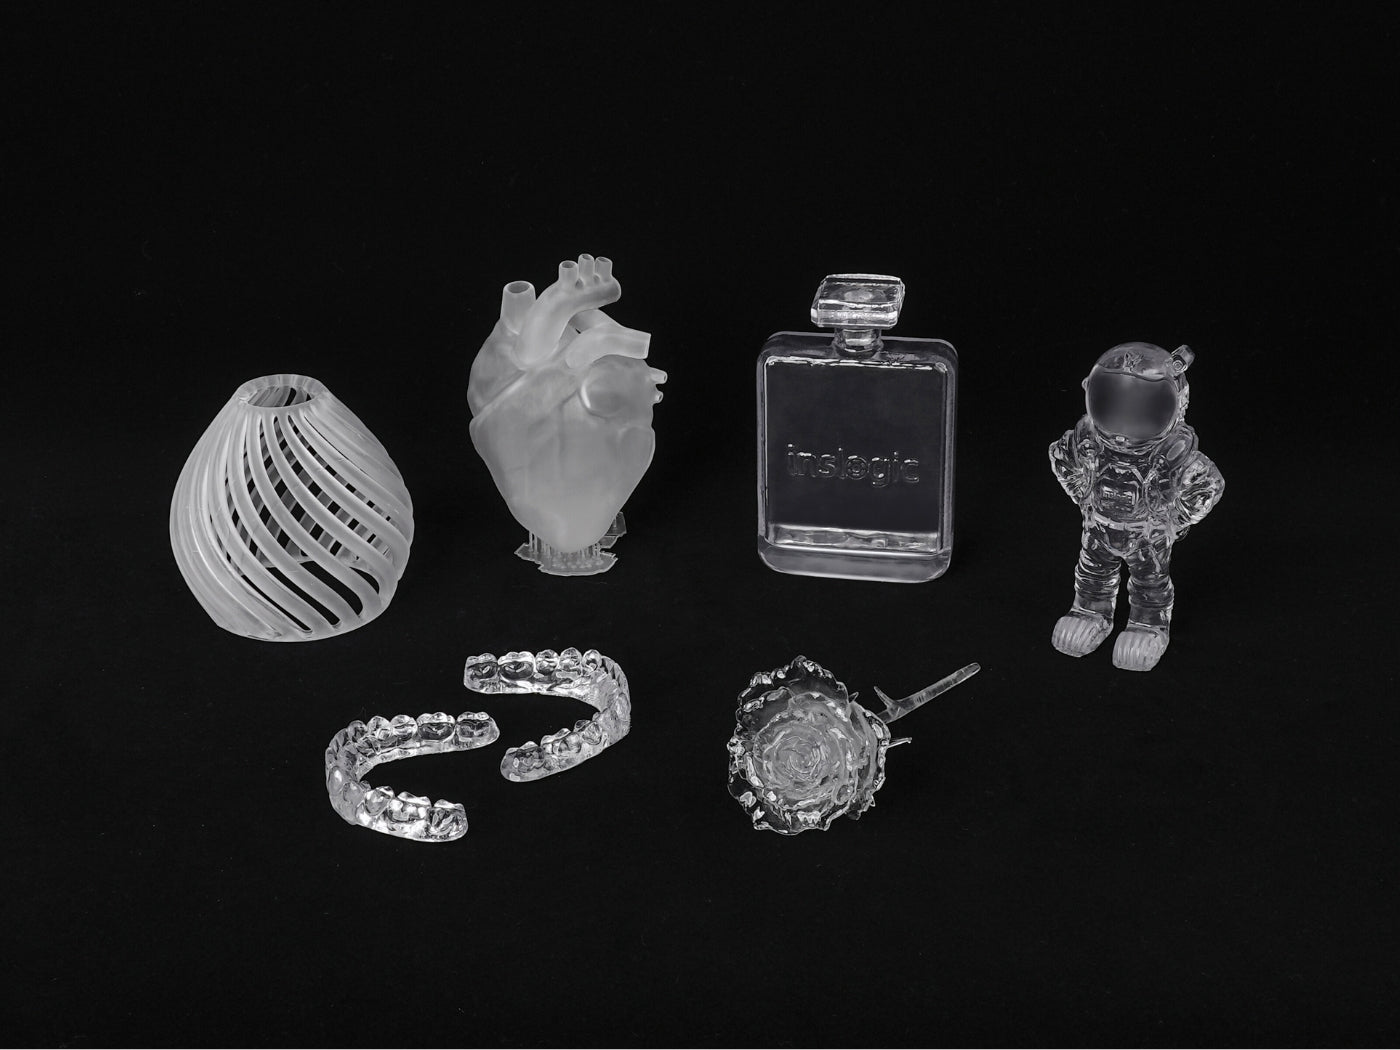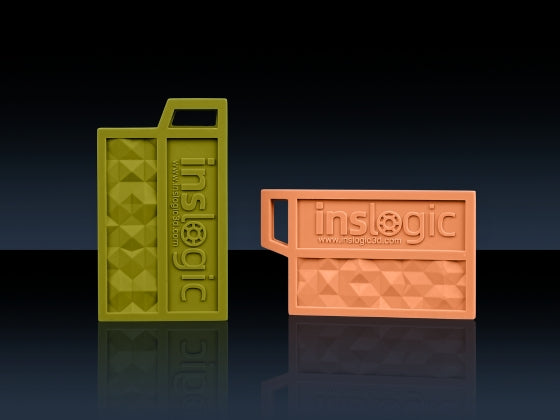

We are thrilled to introduce Inslogic calibration test model for resin printing, a multifunctional tool designed specifically for resin 3D printers. Our goal was to create a calibration piece that is both practical and aesthetically appealing. This test model can be used to evaluate the performance and reliability of both the 3D printer and the resin.
Properly adjusting your exposure settings when working with a new resin is crucial. Optimizing these settings and evaluating print shrinkage before starting on larger or more detailed models ensures the sharpest details possible. Additionally, testing the model on different resin printers allows you to assess performance aspects and achieve consistent print success.
In this blog post, we’ll walk through the features and tests of Inslogic calibration test model, demonstrating how we evaluate the performance of materials and printing complexity using this model. We will also cover how to adjust exposure settings to achieve optimal print quality and precision.

Before evaluating your print, ensure it is thoroughly cleaned and properly cured to obtain the most accurate results. It’s essential to test each aspect independently rather than relying on inferences from other test results.
1. Breakout Test

2. The Pillars

Pillars are included to test the printability of features, with at least 0.6 mm, 0.5 mm, and 0.4 mm pillars expected to be visible, helping to assess the precision of your resin. Holes are provided to check the resolution of negative features, while adjacent pillars are used to evaluate positive feature sizes. The varying pillar diameters also allow you to examine the strength of your resin, with each pillar representing different thicknesses and showcasing the limits of how thin your resin can print under proper exposure settings.
3. 15°-75° Overhang Performance

This feature allows you to evaluate the quality of overhangs. It’s designed to highlight differences in slope direction and reveal the weaknesses in part cooling. The numbers indicate the angle between each segment and the vertical line, helping you assess performance across varying angles.
4. Bridge Test

This test evaluates bridging across spans of different lengths and examines the texture of layers. Structural elements, including overhangs at both obtuse and acute angles, provide insight into the loss of green strength, variations in peel forces, and potential issues with the underside layers of parts.
5. Vertical Slits

Vertical slits allow you to assess the minimum width and height of openings, enabling precise adjustments to exposure settings and pigment levels.
6. Inslogic Logo and Website
If the smallest features of the logo are missing, it indicates insufficient exposure. Blurred small characters suggest the need to reduce the exposure time.
7. Tower Test

This test is the ultimate measure of precision, resin tensile strength, and cleaning effectiveness. The patterns are designed to evaluate exposure on twisted and angled surfaces, helping you fine-tune your settings. The Tower Test also demonstrates XY resolution capabilities, allowing you to identify the smallest possible features by closely inspecting the results with a magnifying glass or microscope.
8. Square Patterns

This row of cubes is designed to evaluate exposure time. Sharp edges and angles indicate proper exposure, while rounded edges suggest potential overexposure.
9. Stacked Slits

Stacked slits are used to evaluate the effectiveness of resin cleaning, which depends on viscosity and cleaning efficiency. If cleaning is not in place, the slits may remain bonded or show residual resin. Ensure that the gaps between the slits are thoroughly washed out. If any resin residue is present, repeat the washing process before proceeding with further tests. Inadequate cleaning before curing can compromise detail accuracy, underscoring the importance of proper viscosity testing and thorough cleaning. For best results, we highly recommend using an ultrasonic cleaner.
10. Stress Test

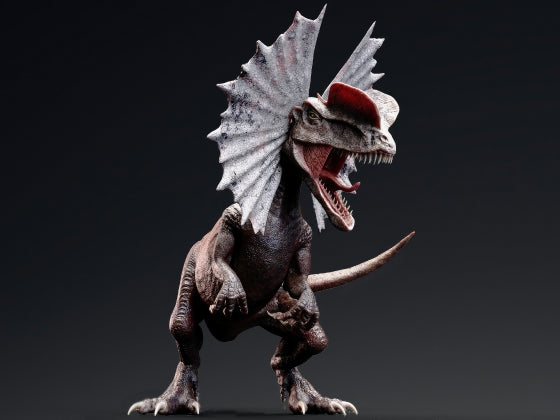
Stress test (torture test) evaluates whether your settings can manage complex models and determines if your resin is appropriate for future projects.
Remember that achieving optimal results involves more than just individual tests. It’s crucial to identify patterns and address common issues across all tests to gain a thorough understanding.
By analyzing trends and recurring problems, you can enhance your 3D printer’s overall performance, rather than just fixing isolated issues.
Click here to get your Inslogic calibration test model STL file. Happy printing!