At Inslogic, we're committed to sustainability in 3D printing. That’s why we created the Inslogic ReFill System, an eco-friendly solution to reduce plastic waste.
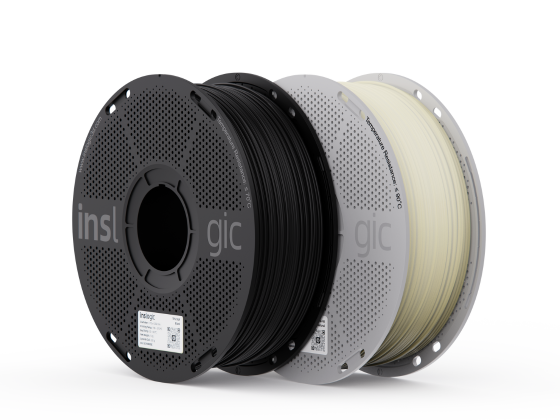
Traditional filament spools contribute significantly to plastic waste. Our refill system is designed to replenish empty reusable spools effortlessly and works seamlessly with all our filaments. Once you've used up your filament, simply detach the spool’s sides and attach them to the refill.
Inslogic Refill system is universally compatible with most FDM 3D printers, including Bambu Lab AMS, Bambu A1 Mini, Prusa, and Ultimaker. Here's how to switch to a more sustainable future with the Inslogic reusable spool and refill system.

Assembling the Refill Spool
*Important Notice*
To ensure the best experience with your reusable spool, please keep the following in mind: If you need to open the spool before using all the filament, be sure to secure the loose end to prevent tangling. This will help maintain filament quality and avoid potential printing issues.
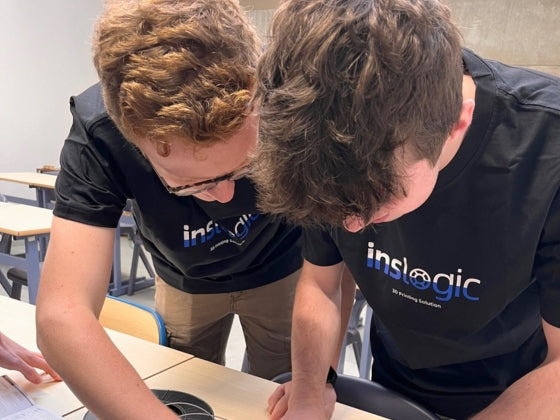
Step 1: Separate the sides of the spool. Hold the reusable spool with your hands on each side and simply twist to open.

Step 2: Prepare a new refill (do NOT remove the plastic straps). Take the refill filament out of the plastic bag. Find the notch on the cardboard coil and line it up with the notch on the flange of the Inslogic reusable spool.

Step 3: Attach the refill to the spool. Attach the refill with the cardboard coil to the center of one side of the spool, aligning the notch. This will ensure the filament is secured in place.

Step 4: Locate the triangle icon. We recommend placing the side with the refill on a flat surface. Find the triangle icon on both sides of the reusable spool and align them while closing.

Step 5: Assemble the spool. Place the other side of the spool and make sure the center is fully pushed in. Then twist and snap it into place until you hear a "click". Now, the Inslogic reusable spool sides are firmly locked together.

Step 6: Remove the plastic straps. Once the spool is firmly assembled, only then should you remove the plastic straps. Before removing all the plastic straps, insert the filament end into the hole on the spool to secure it in place and prevent tangling.

Step 7: Stick the labels. All Inslogic refills come with two small paper labels containing information about the material. You can stick this label onto the plastic sides of your old spool to indicate what material it is.

The spool is ready to use. Now you can enjoy quality 3D printing filament while minimizing your environmental impact. We hope the guide we shared with you is helpful and informative. Keep creating with Inslogic 3D!


